How to Install a VMWare Virtual Machine

Install VMWare
If you do not have VMWare installed, please select one of the following options to download and install it.
VMWare Workstation 16 Player
For Linux and Windows hosts. Runs a single virtual machine.
https://www.vmware.com/products/workstation-player/workstation-player-evaluation.html
VMWare Workstation Pro 16
For Linux and Windows hosts. 30-day eval, $200 to buy.
https://www.vmware.com/products/workstation-pro/workstation-pro-evaluation.html
VMWare Fusion 12
For Mac hosts. 30 day trial, free for non-commercial use.
https://www.vmware.com/products/fusion/fusion-evaluation.html
Import VM Into a Linux Host Computer
Download the Virtual Machine
Make an empty directory on your system. In this example we’re placing the virtual machine in ~/vm-open – feel free to change the directory name to match the project. Create an empty directory; don’t try to place 2 virtual machines in the same directory:
cd
mkdir vm-open
cd vm-open
Download the zip file containing the virtual machine and place it in ~/vm-open . In that directory, run:
ls -Al
to find the file name:
total 4533236
-rwxr-xr-x 1 wstearns wstearns 4642024357 Feb 14 15:57 packet-decode-vmware-202202.zip
On a windows system, please use:
dir
instead of “ls -al”.
Unzip
Open up the zip file by running
unzip zip_file_name.zip
In this example, the virtual machine is defined by the file ~/vm-open/packet-decode-vmware/Packet Decode.vmx file. All of the other files are part of the virtual machine, but the .vmx file is the important one.
Import Into VMWare
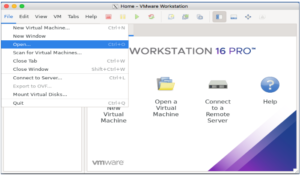
Start up VMWare. The appearance will differ depending on the particular flavor of VMWare you’re using and the operating system on which it’s running, but you’ll need to find an icon (like “Open a Virtual Machine”) or a menu option in the File menu called “Open”:
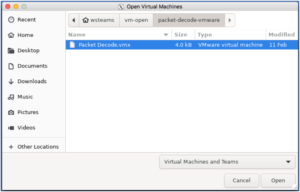
A window will open up asking you to find the virtual machine. Navigate to the directory holding the .vmx file (in this example, ~/vm-open/packet-decode-vmware/ ). If the .vmx file is not automatically highlighted, select it and choose “Open”:
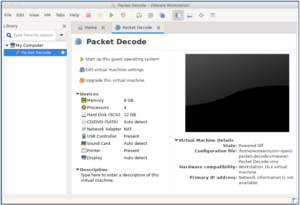
Now the virtual machine will be shown in the main window. If you need to change any settings, choose “Edit virtual machine settings.” from the main window or click “Settings” in the VM drop-down menu. Otherwise, you can start the virtual machine by clicking “Start up this guest operating system” or clicking the right-pointing triangle in the button bar:
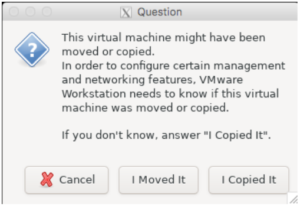
You may be prompted to say whether this virtual machine was moved or copied – choose “I copied it”:
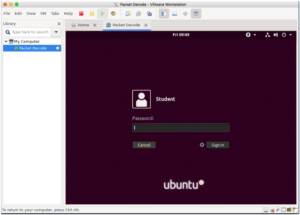
When the virtual machine comes up, you’ll have either a graphical or text console on which to log in; check with your instructor for the username and password to use. Good luck!
Import VM Into a Windows Host Computer
Download Virtual Machine
Create a directory with the name of the virtual machine and place the downloaded virtual machine file into that folder. In this instance we are creating a folder on a seperate drive (G drive) from the operating system (C drive) to save room as well as potentially boost IO. not necessary but a consideration if you intend on running multiple virtual machines and/or running low on hard drive space. (FYI – running virtual machines from a USB3 SSD works very well)
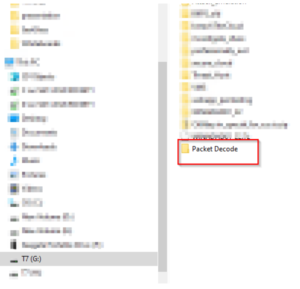
Save the virtual machine file to the Packet Decode folder just created:
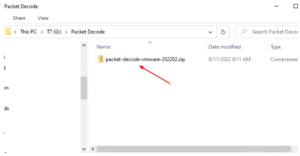
Unzip the File
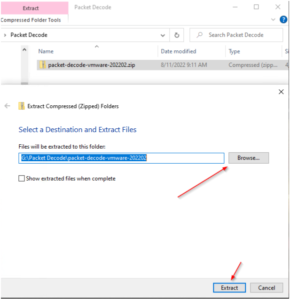
Extract or unzip the file by right-clicking and choosing “Extract All…” This is the native windows unzip tool. If you have another favorite unarchiving weapon, by all means, use it..
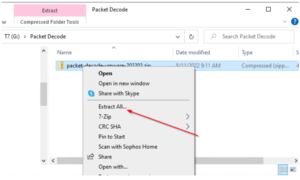
The default extraction location will be the directory that the downloaded zip file is currently in. If the file is in your “downloads” folder due to browser defaults, change the path to the folder that you want to by clicking “Browse…”, selecting the folder you want, and then click on “Extract”:
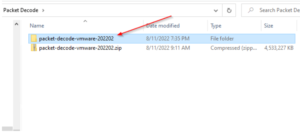
You will end up with an extracted folder with the same name as the zip file in the same directory as the zip file if all went to plan.
Import Into VMWare
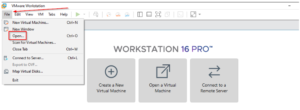
Open up VMWare player or Pro. In this instance we are using VMWare16 Pro but Player is similar. Go to File -> Open
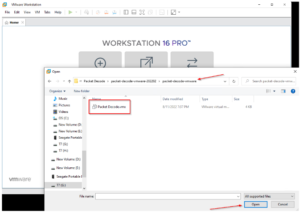
Navigate to the extracted folder from the previous steps. Go into the folders, select the “.vmx” file, and then click on Open:
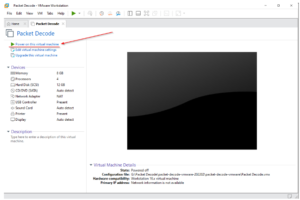
The opened Virtual Machine should look like the below. Click on “Power on this virtual machine” to start up the VM:
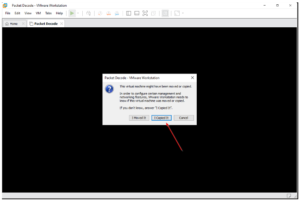
When prompted, click on “I Copied It”:
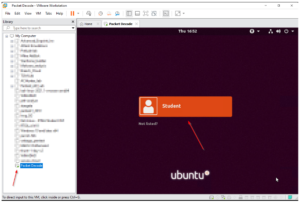
Your Virtual Machine should now start. Once up and running you should be prompted to log in:
Credits
Many thanks to Jim Ducroiset for his help with the Windows host instructions. Thanks also to Keith and Shelby for preparing this for publishing.

Bill has authored numerous articles and tools for client use. He also serves as a content author and faculty member at the SANS Institute, teaching the Linux System Administration, Perimeter Protection, Securing Linux and Unix, and Intrusion Detection tracks. Bill’s background is in network and operating system security; he was the chief architect of one commercial and two open source firewalls and is an active contributor to multiple projects in the Linux development effort. Bill’s articles and tools can be found in online journals and at http://github.com/activecm/ and http://www.stearns.org.